How to create your first space
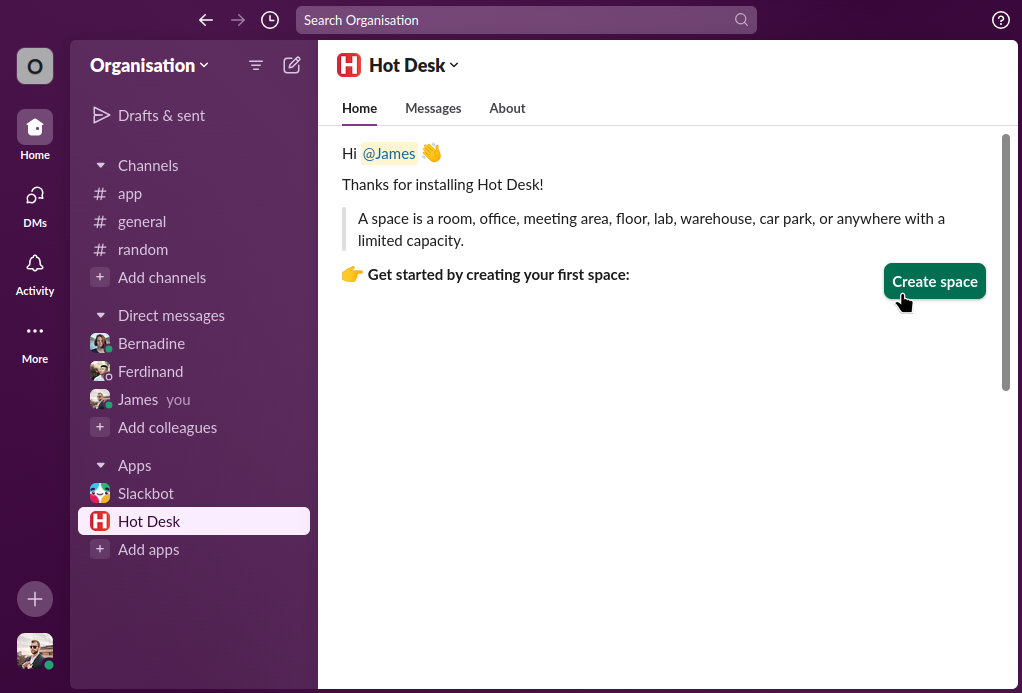
Step 1: Open the Hot Desk app in Slack and click the "Create space" button.
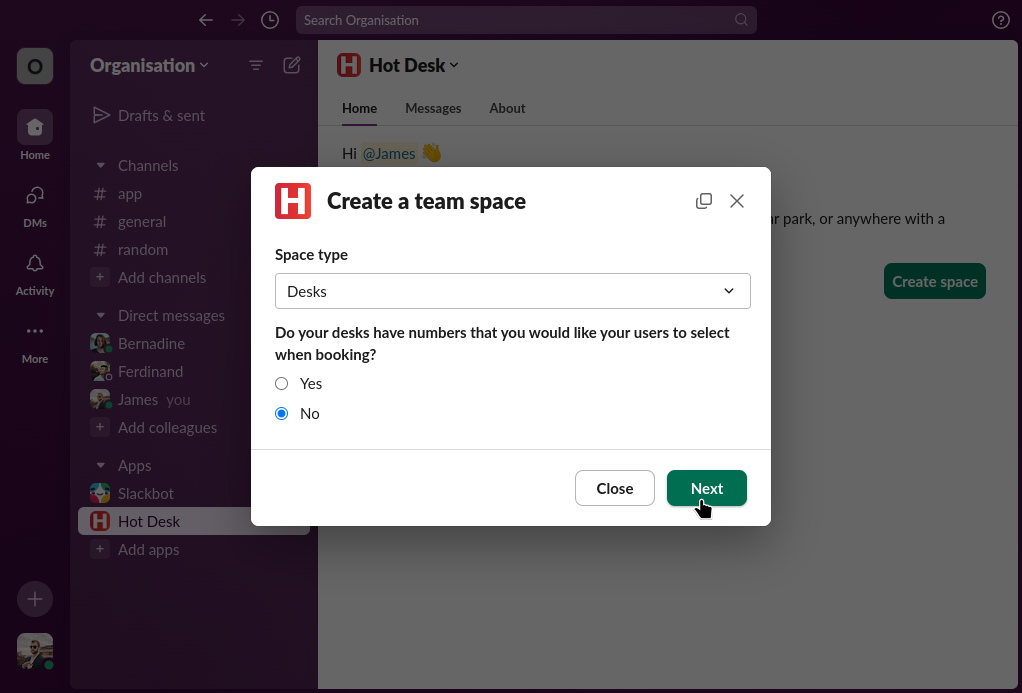
Step 2: Choose the type of space you want to create. In this example we will create a desk space, select "Desks" from the dropdown, and the "No" option to indicate there are no desk numbers, then click "Next".
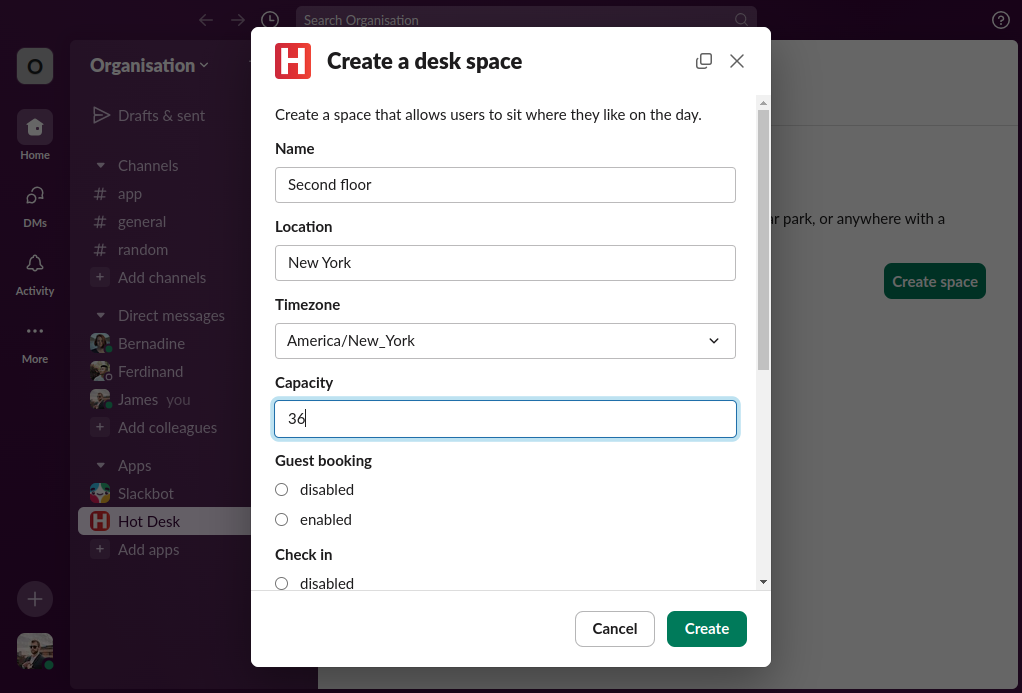
Step 3: Enter the name, location, timezone, and capacity of the space. The capacity will determine how many people are allowed to be booked in a single day.
Step 4: Select if you want to allow guests to be booked.
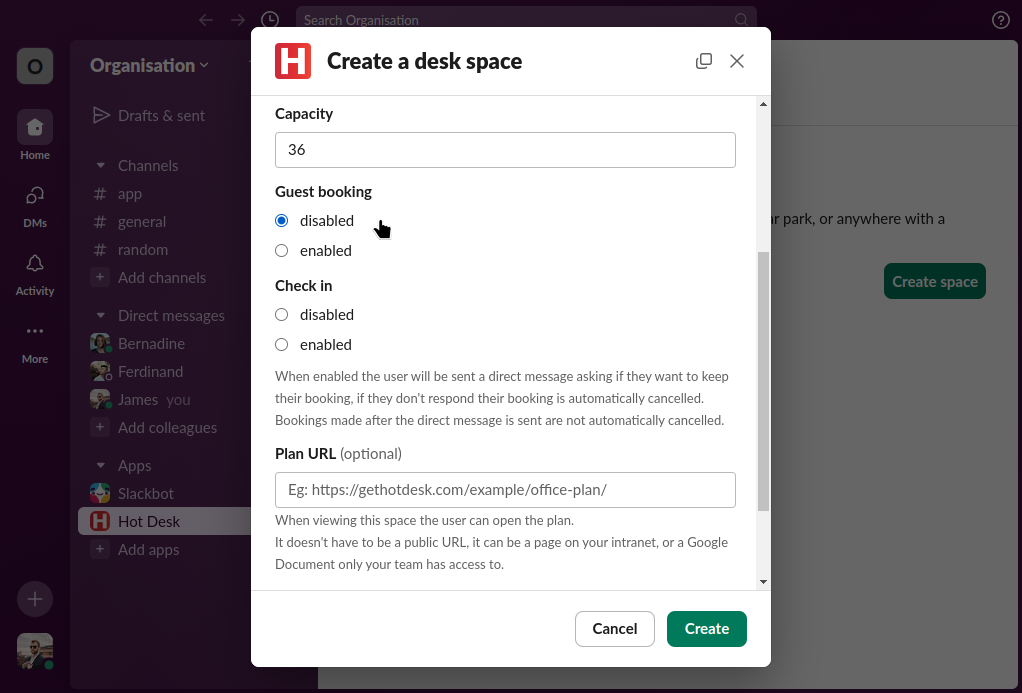
Step 5: Select if you want to ask people to confirm their attendance and automatically cancel bookings that aren't confirmed. The check in feature will send a direct message to each user that is booked in asking them if they want to keep their booking, you can send the direct message on the day of the booking or the day before at any time. You can also set when you want unconfirmed bookings to be cancelled.
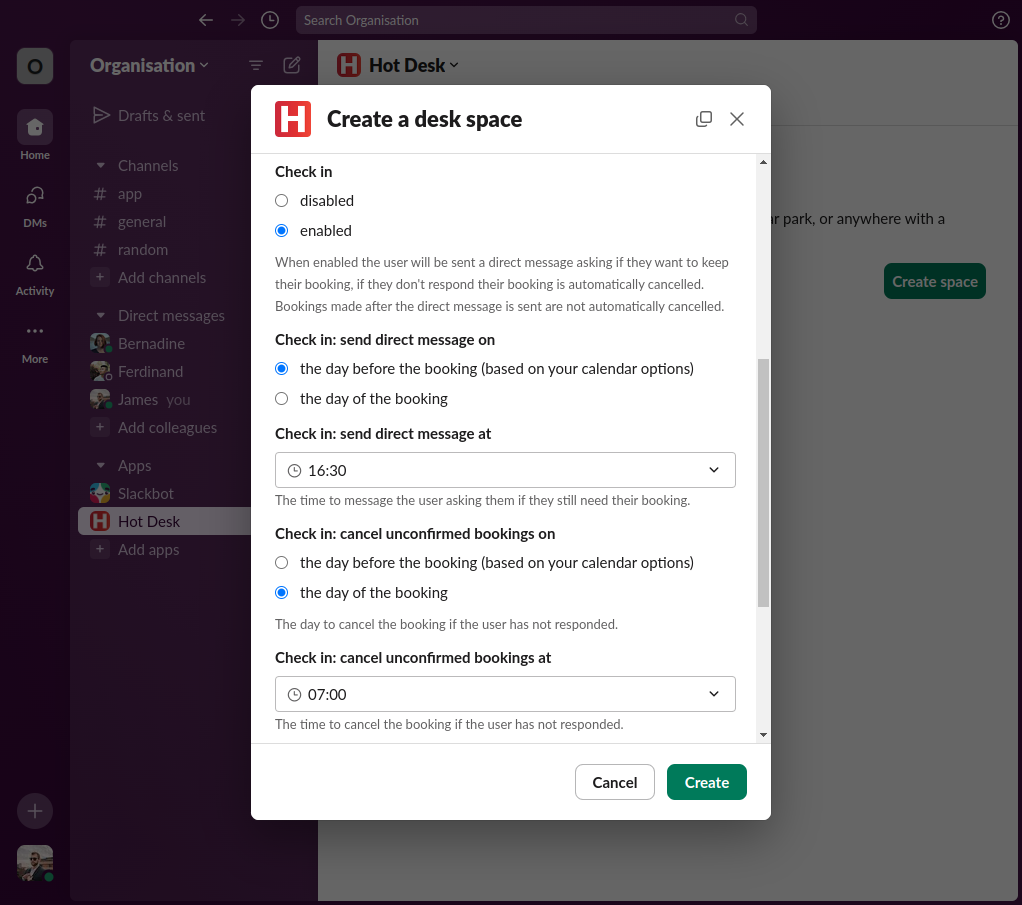
Step 6 (optional): Add a link to the plan of your space. This can be a page on your intranet, or a Google Document only your team has access to.
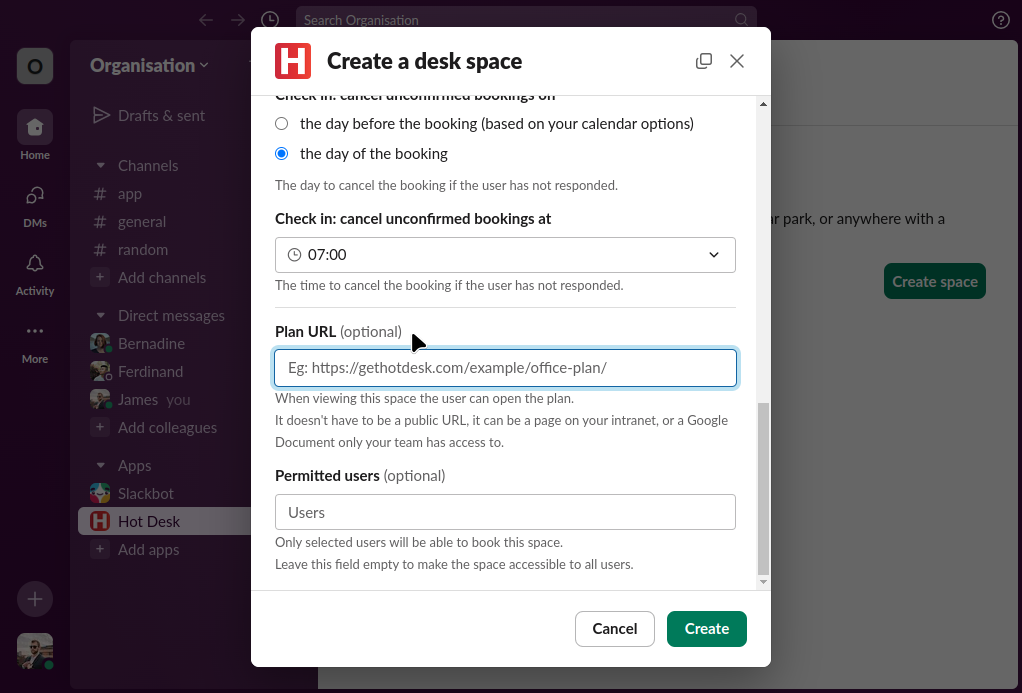
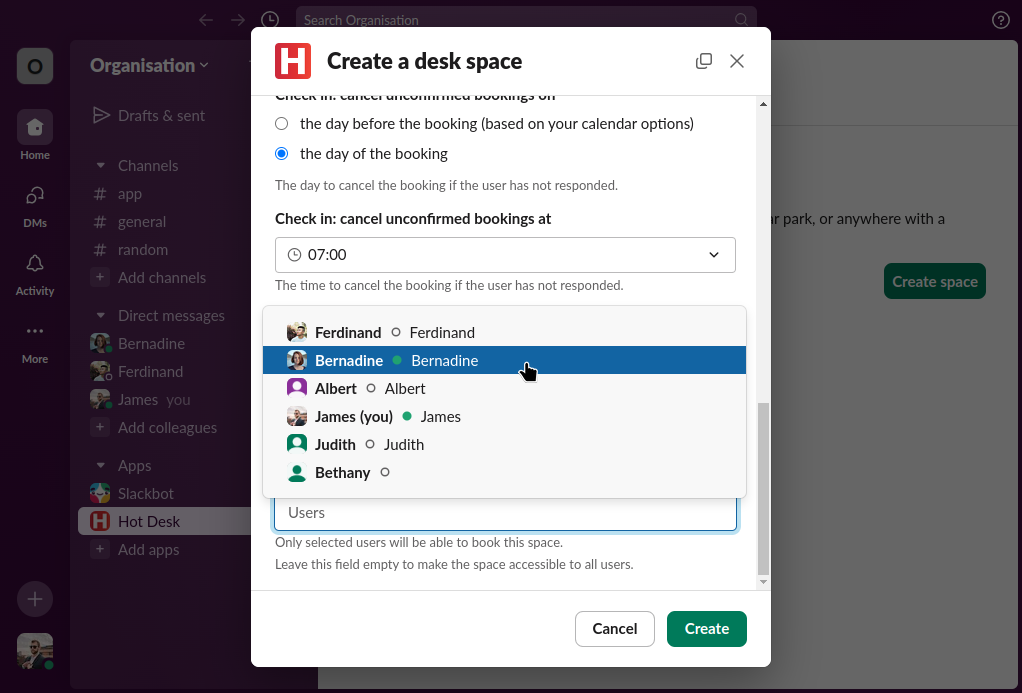
Step 7 (optional): Enter the names of users you want to be able to use the space. If you want everyone to use the space skip this step.
Step 8: Click "Create".
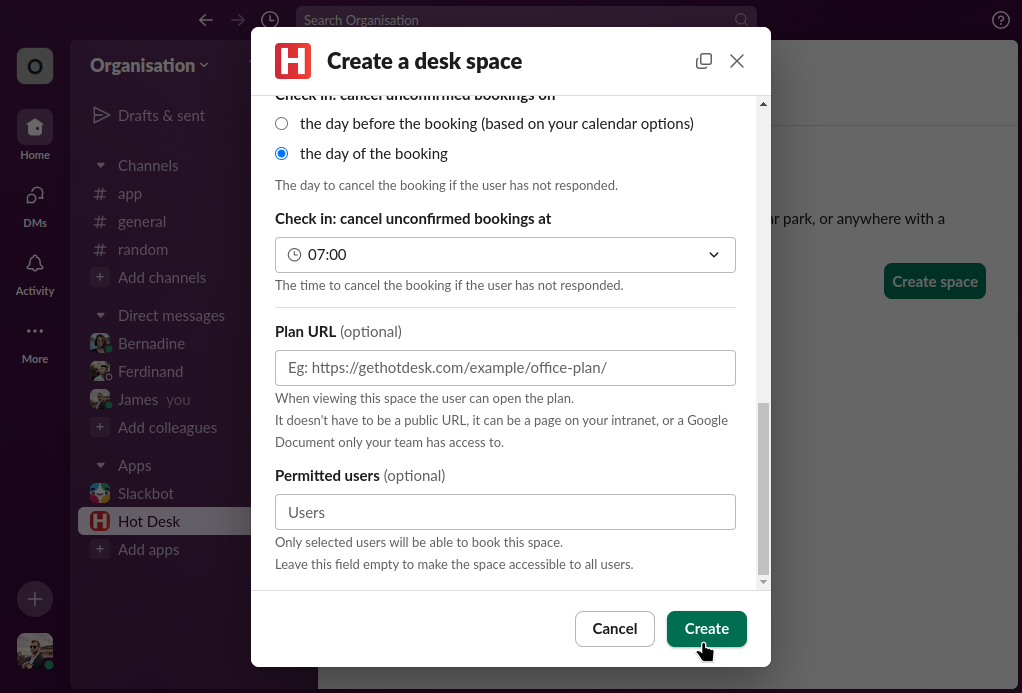
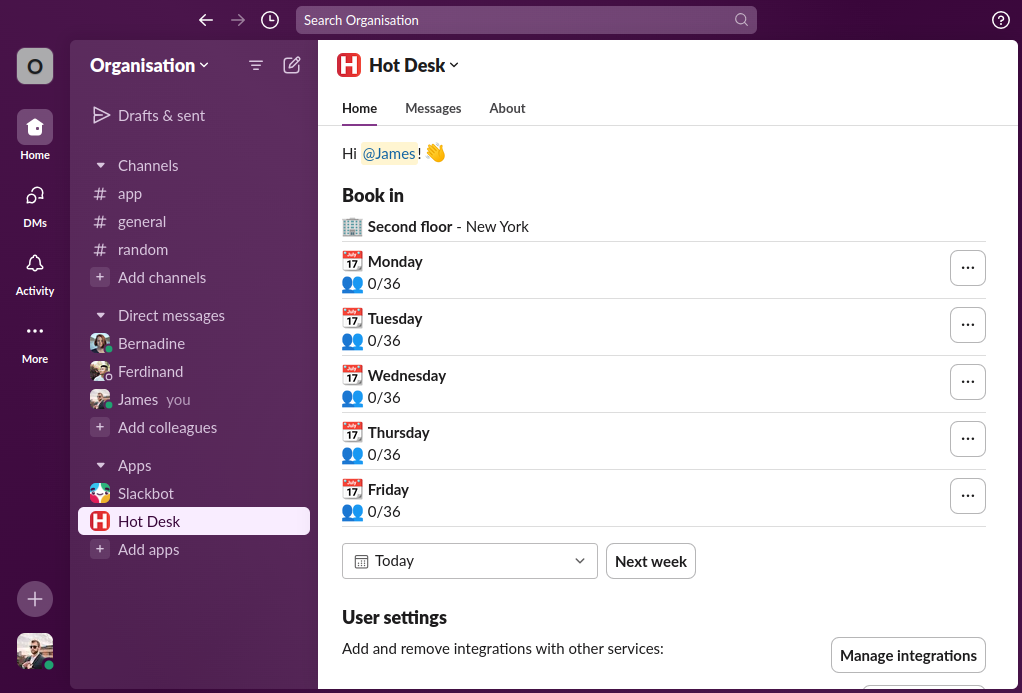
Done! You should see the space you created and can book in.
 Hot Desk